2014 Planner Organization
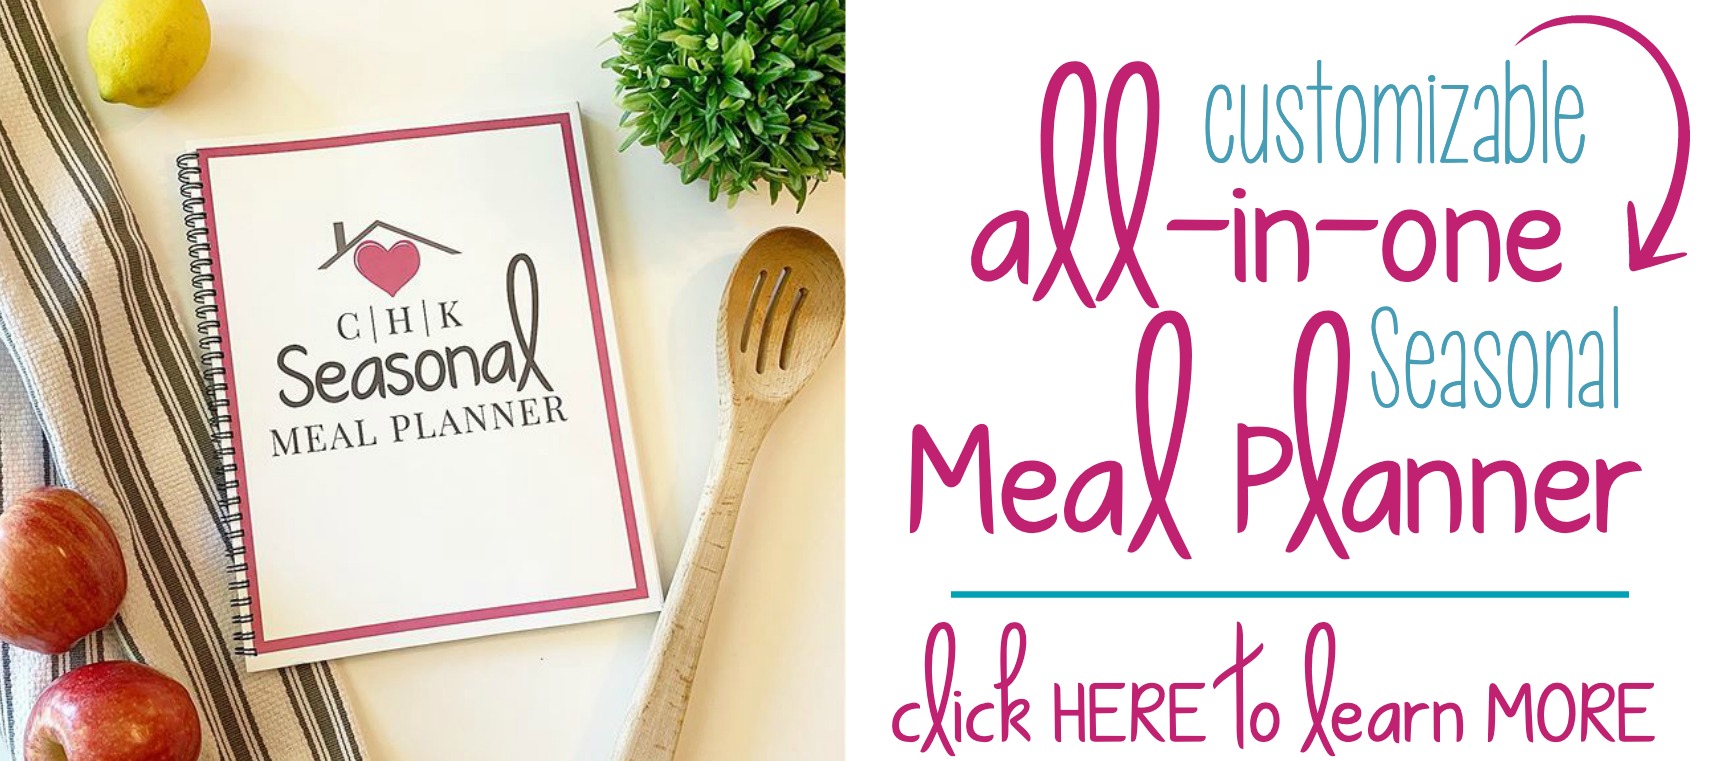 Is meal planning a struggle? I'm so excited to announce... The CHK Seasonal Meal Planner is now available!!! Plan your meals with purpose and intention as you think through special days, holidays, and what each season uniquely offers. It will guide you, step-by-step, through planning each month allowing you to save time and money.
 This post has become one of the most popular here on Creative Home Keeper but has also become slightly outdated as the various calendar pieces I mention below are no longer available. I have since posted several updated versions of what I have been using, how to pick the right planner for your planning needs, as well as 4 things to include when setting up your new planner. You can check out those posts here by clicking on the pictures below:

4 Things to Include When Setting Up Your Planner
Intentional Planning: Setting Up Your Planner for Success All Year Long
Choosing the Right Planner for Intentional Planning {Monthly, Weekly or Daily}
I will still be using the bones of my disc bound notebook below as a notebook organizer to plan out my blog posts, it just won’t have the main calendar inserts anymore, but rather just plain notebook paper with the dividers re-organized to help me plan blog posts, guest posts, post ideas, to-do lists and site maintenance ideas.

I have a slight significant love affair with planners. I have tried to jump on board with the growing e-planners trend, but I just can’t do it. I love to write out tasks and events with colorful fun pens. I love to use stickers to highlight important dates. I love the satisfaction of being able to cross items off of my task lists. So I am not ready to give up my paper planner anytime soon!
For the past few months, I have been searching for an affordable planner that I could customize to my needs without any luck. They were either too expensive or not entirely set up the way that I would like and need, so I decided to create my own.
Note: Some links below are affiliate links. You can read my disclosure policy here.
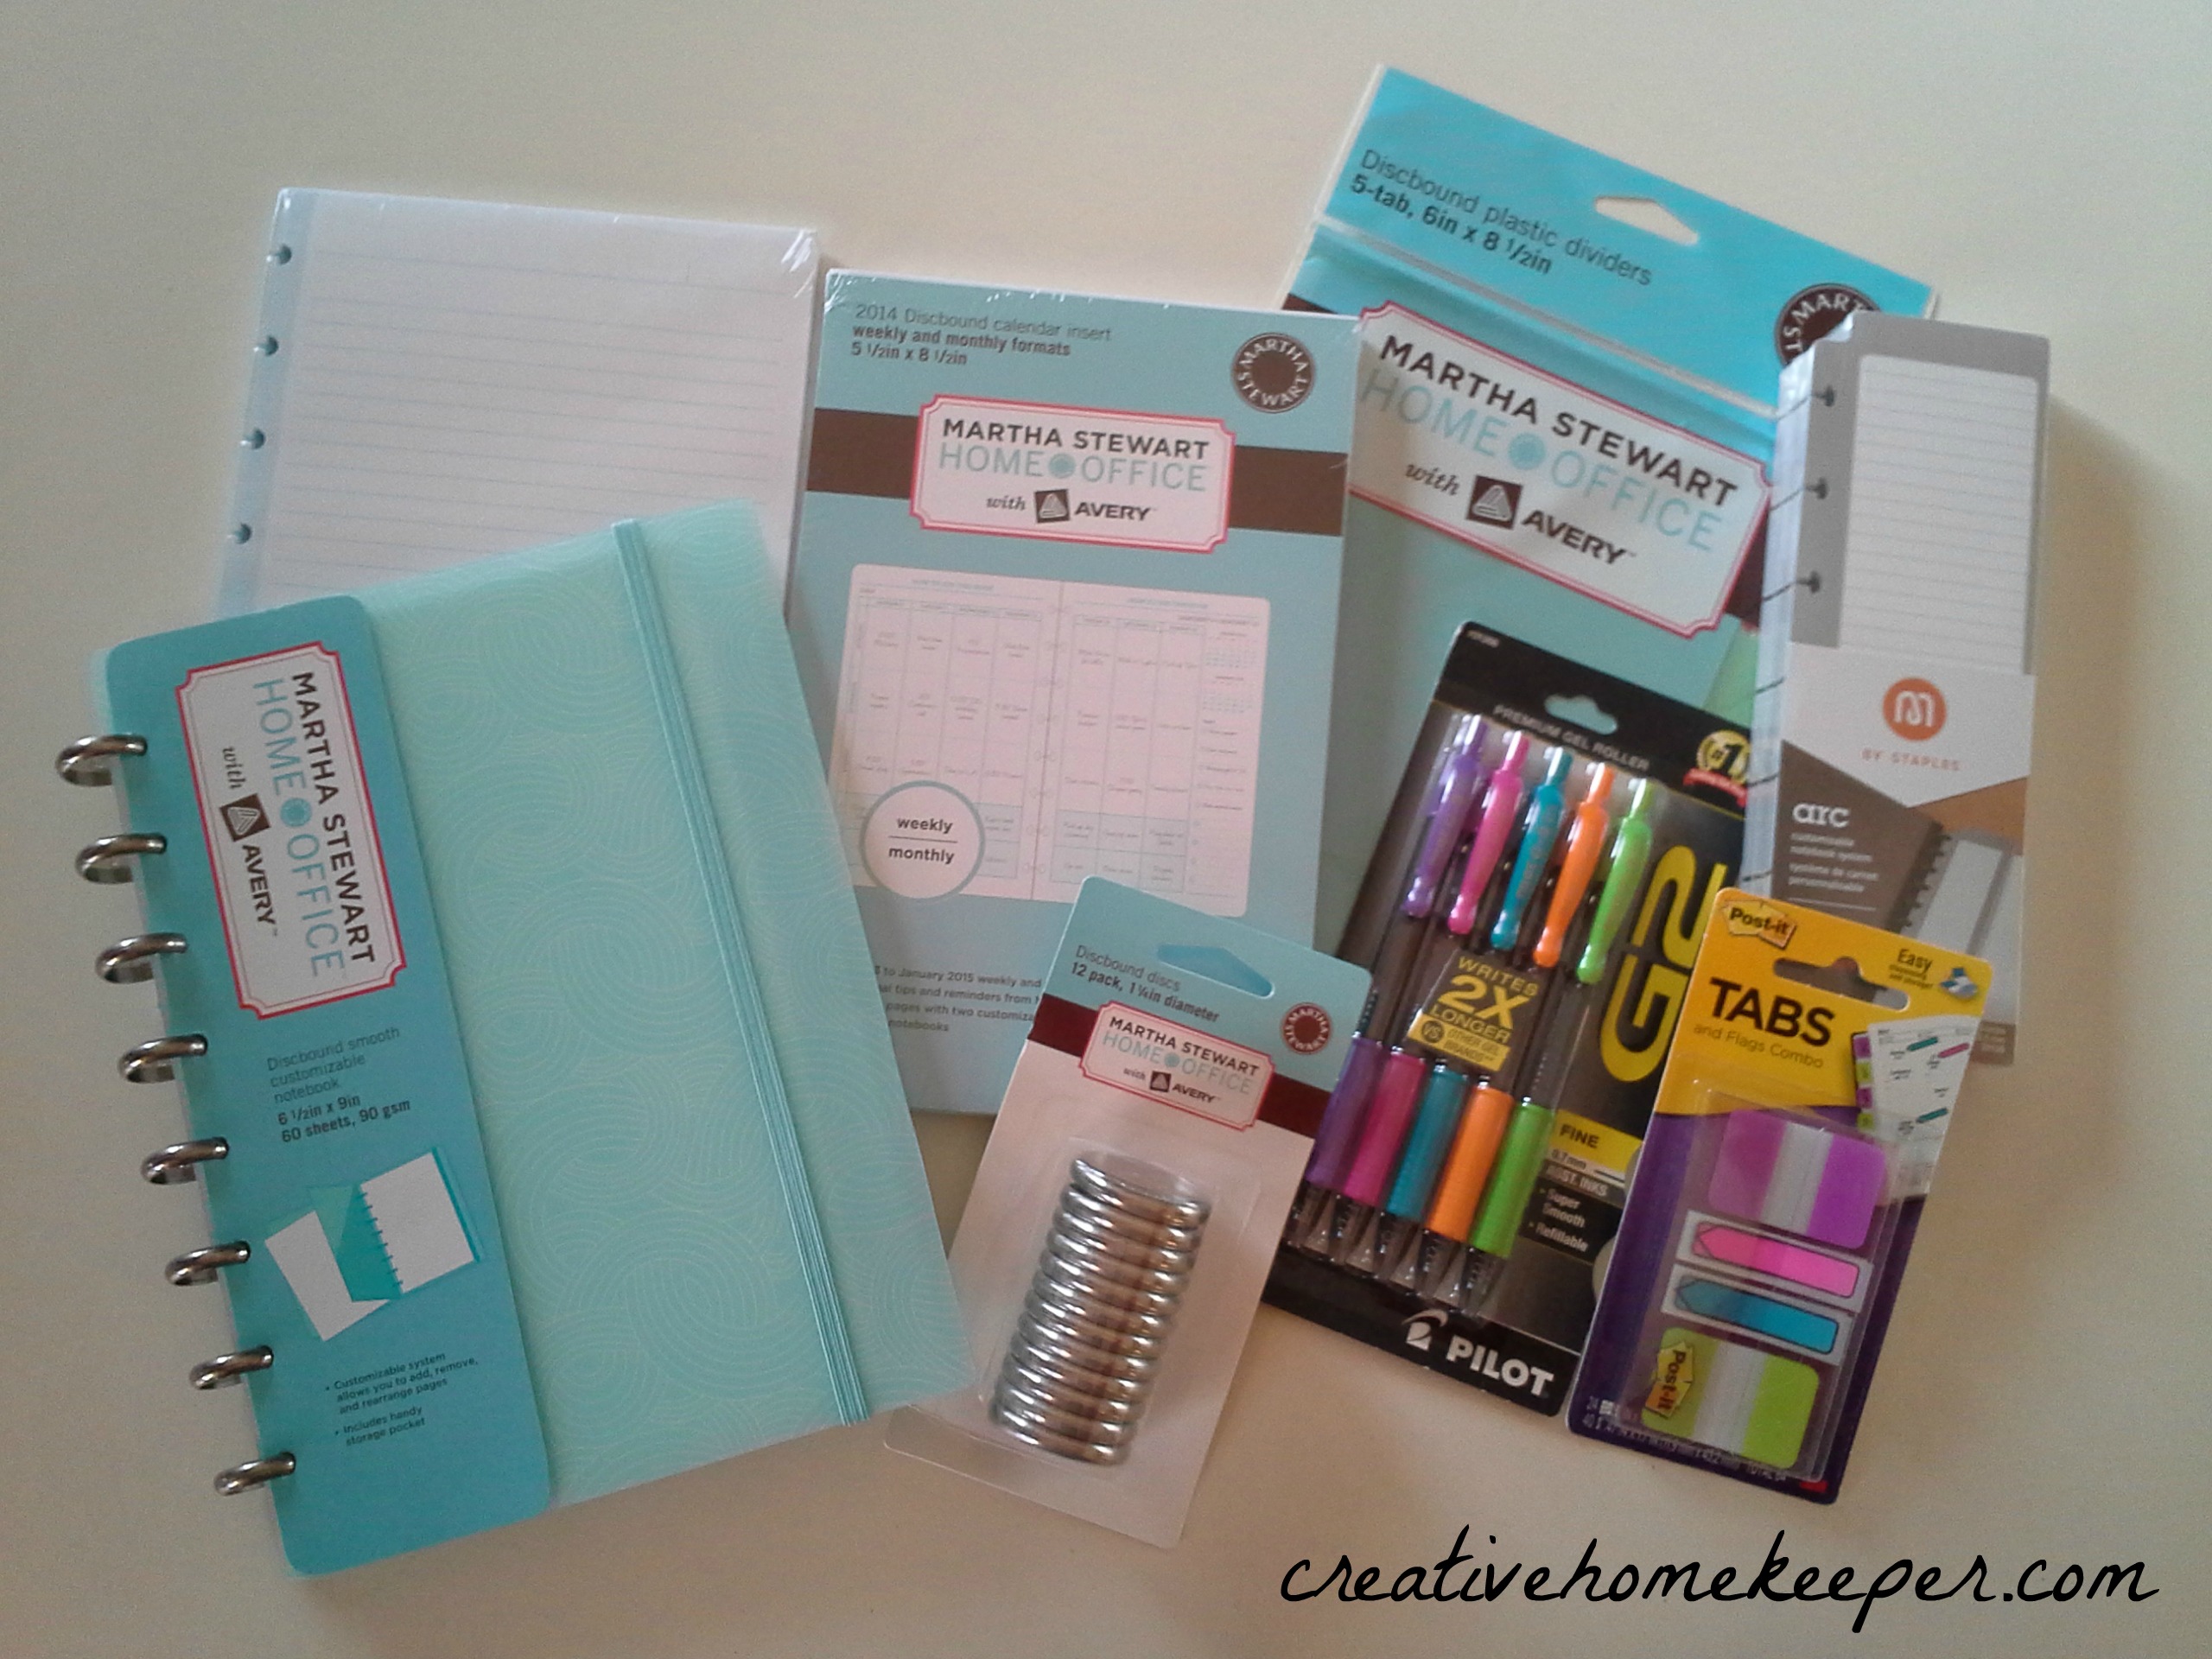 After looking around at my nearby office supply stores, I came across the Martha Stewart disc-bound system from Staples. While I’m not a huge Martha fan, I do love her home office line. They have a clean and simple design, which I love. Plus there is usually always a coupon for Staples either in the Sunday newspaper or on-line, so I was able to purchase all of this for under $25 with a coupon stacked with sales prices.
The disc-bound system here is similar to the Levenger Circa notebooks system. I love how easy it is to add and remove pages. Here is the breakdown of the supplies I used to make my planner.
1. Disc-bound notebook
2. Notebook dividers
3. Filler Paper
4. Expandable discs to hold more paper
5. Task pads
6. Gel pens
7. Tabs

I’m a big fan of using bright and colorful pens, these are my favorites.

The front clear pocket is the perfect place to hold Post-it Tabs, calendar stickers, extra filler paper and other important papers.

I love having a month at a glance page as the first section of my calendar. I use this page to not only write important dates but also to write tasks and goals to complete for the month.

I use these task pads to serve as a bookmark and attach a monthly sticky tab at the top to help locate the month quickly. They also serve as another place to write down goals, to-do lists, and reminders.

A week at a glance pages are also very important to me. I prefer a system that sets up each day in a vertical column with room for morning, afternoon, and evening space to jot down appointments and notes. What I also love about these planner pages from the Martha Stewart line is that there is also room at the bottom to write out meals for the week and chores (you can customize this space to include anything you need).

I also attach a paper clip that I move around to help bookmark the week at glance page I’m currently in.

Traditional calendars don’t really designate a place to write down appointments for the next year so I designated a space at the back of my calendar to write down dates and appointments for 2015 that I can easily transfer to my new calendar next year. This way I don’t have to keep track of several appointment cards, I can toss them after I write the dates down.

I also included sections behind my calendar for my goals, projects, notes and lists, as well as a spot to record any blog related business. I do use a separate blog planning binder, so this is a place where I can jot down notes and ideas when I don’t have that binder with me.
My planner has 5 category tabs:
1. Calendar
2. Goals
3. Projects
4. Notes and Lists
5. Blog
So that’s a quick peek into the planner that I will be using this year. What features do you look for when putting together your planners?
Click on the image above to read more posts in this series.