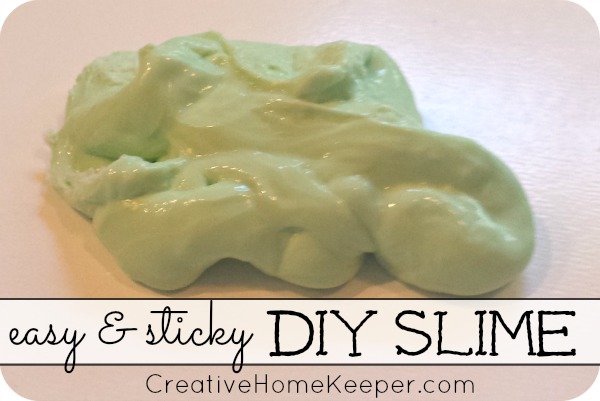
Easy and Sticky DIY Slime
When I taught fourth grade, the last day of October usually meant a day filled with fun and organized chaos. It was usually a day that was filled with Halloween themed activities and concluded with a fall party at the end of the day. It was a fun day, a day with no regular schedule. One thing we would always do was make easy and sticky DIY slime with the students.
They loved it!
It was a not only a fun project but it was also a mix of math and a little bit of mad-scientist skills as the kids had to measure and mix up their own recipe to get the perfect slime.
Since Silas is in preschool two mornings a week and Amelia is in Mother’s Day Out one day a week, I thought this year would be the perfect year to introduce this slimy activity. They both love play dough, and I’ve even made some at home to enjoy with them, so I knew that they would also enjoy “helping” me make some homemade slime as well.
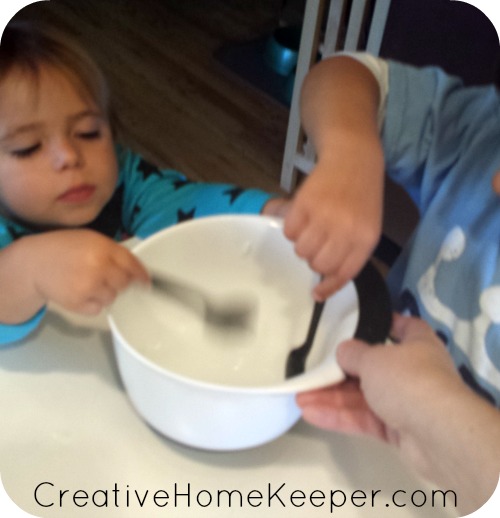
I do use that term help loosely because while they were both interested in watching me and Silas occasionally helped stir, I ended up mixing up most of the batch of slime, which is OK. They will become much more helpful as they get older… hopefully 😉
Ready to make some Easy and Sticky DIY Slime? Let’s get started!
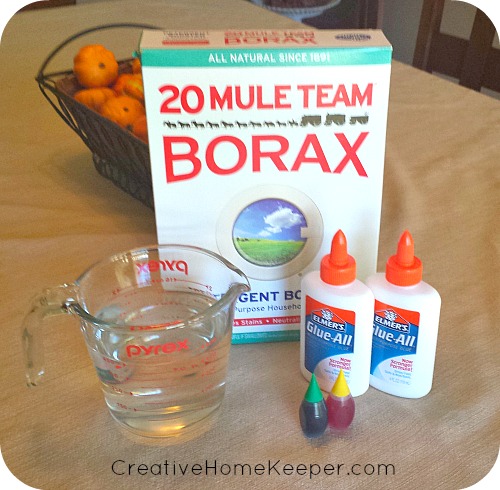
Here’s what you’ll need:
water, specifically you will need 3/4 cup cold water and 1/2 cup hot water
1 cup of glue, I used two regular sized bottles of Elmer’s Glue
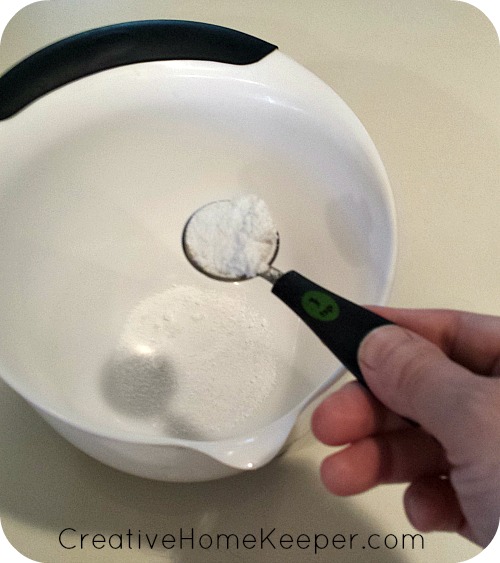
1 tsp Borax
Food coloring if you want to die the slime, I used a mix of green and yellow
Step One
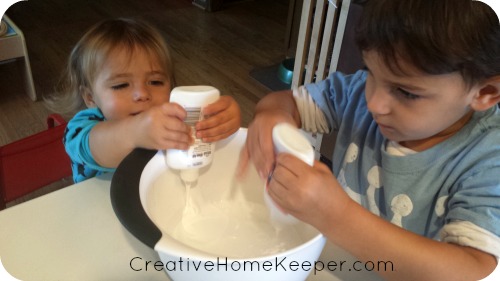
In a mixing bowel add the glue to the cold water and mix.
Step Two
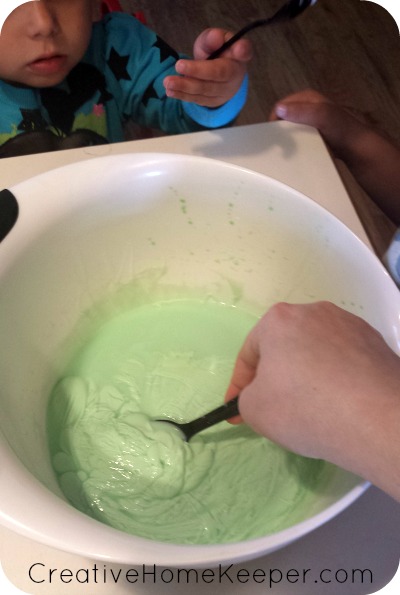
Once the water and glue are mixed well, it’s time to add the food coloring. I started by added some green, I added about 10 drops then I added about 4 to 5 drops of yellow. You can add as much or as little dye as you wish. I wish I would of added a little more green dye to give the final product a bit more of a greenish color.
Thoroughly mix the dye together with the water glue mixture until it is well combined and there is no white from the glue remaining.
Step Three
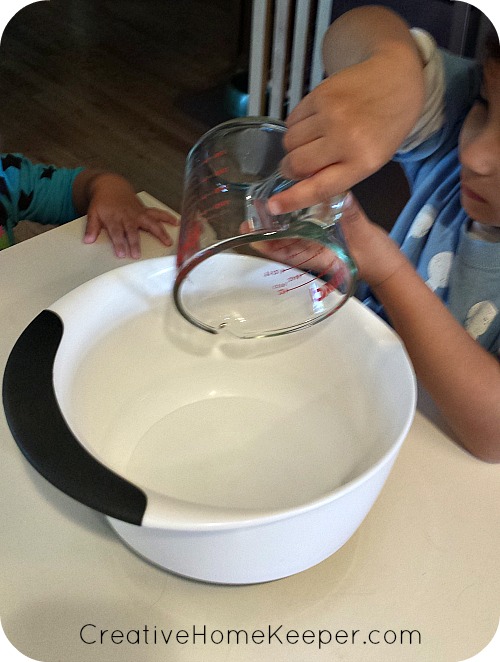
In a smaller bowl, mix the hot water with the borax. Stir well until the borax is fully dissolved, the water will look a bit cloudy.
Step Four
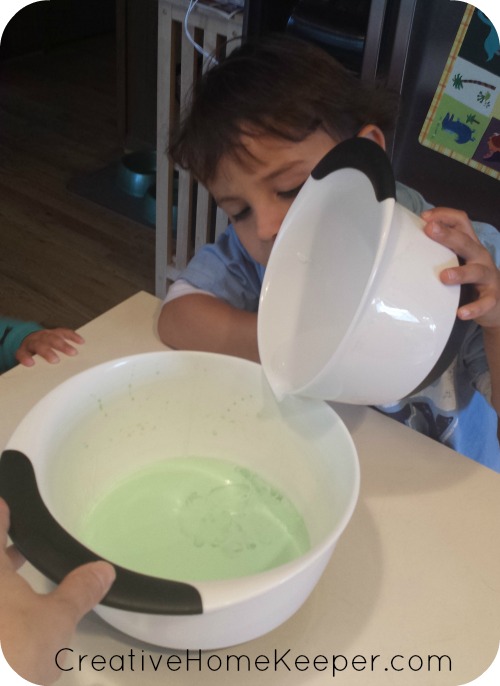
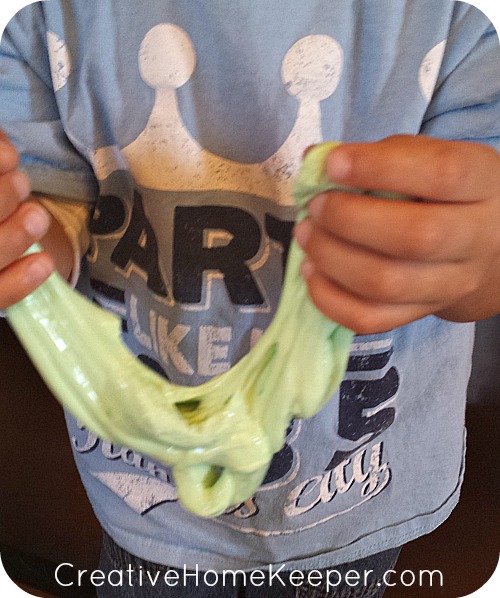
Slowly pour the borax water into the colored glue water and gently stir. You will start to see the slime form. This was the coolest part for Silas! You will probably have some excess water to pour out and the glue might appear to be wet at first but will start to dry out a bit as touched and played with.
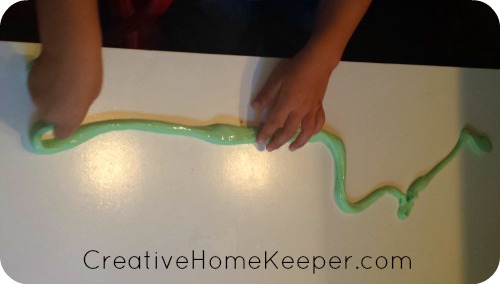
Both kids had a blast playing with it. Silas loved rolling it out into long snakes, we even did a little shape recognition too! All was going well with Amelia until I discovered that she started to place some in her pocket and boy was that sticky mess! 🙂 Thankfully with a little water, it all came off but needless to say we had to have a stern discussion about keeping the slime on the table only!
The slime provided a good hour of independent play time for Silas which was so nice because the morning we made it was a lazy morning after being up super late because of the World Series.
The last, fun game the Royals won my husband got to go, which was a life long dream of his. I stayed up way to late so I could talk with him about it after he got home. Let me just tell you, late nights and a consistent morning routine just don’t go together. As much fun as the Royals post-season was, I’m thankful baseball is over for a few months now!
The slime can be stored in an airtight container for about a week. I put ours in a plastic baggie and Silas has played with it just about every day this week.
While not technically a “fall only” activity, this slime is fun to make around Halloween but this will also be a great activity to make with the kids to keep them busy when the cold, snowy days of winter approach on us all too soon!
Have you ever made DIY slime with your kids before?
****
Well we have made it to the end of October! I still can’t believe today is the last day of my favorite month of the year. Thankfully the weather is still beautiful, the trees still have an abundance of colorful leaves on them although there is a nice blanket of crunchy leaves on the ground too. Tomorrow we move into my second favorite month of the year, thankful November.
I love the season where we focus on gratiude and on our abundant blessings. I have some fun things planned so I hope you’ll stay tuned!
 Is meal planning a struggle? I'm so excited to announce... The CHK Seasonal Meal Planner is now available!!! Plan your meals with purpose and intention as you think through special days, holidays, and what each season uniquely offers. It will guide you, step-by-step, through planning each month allowing you to save time and money.






This looks like so much fun! We are in desperate need of “more fun” in our home this week, and I just happen to have all of the ingredients for this on hand… which is shocking! Guess what we are doing tomorrow? 😀 Thank you for sharing!
Yea! So happy that you found this and have the ingredients on hand, that’s what I love about this recipe! Good for you for instilling a “more fun” code in your home. It so easily gets overlooked especially as the day-to-day tasks and to-do lists get piled up. I’m sure your kids are going to love this!