Organizing & Archiving School Keepsakes from the Year
 Is meal planning a struggle? I'm so excited to announce... The CHK Seasonal Meal Planner is now available!!! Plan your meals with purpose and intention as you think through special days, holidays, and what each season uniquely offers. It will guide you, step-by-step, through planning each month allowing you to save time and money.
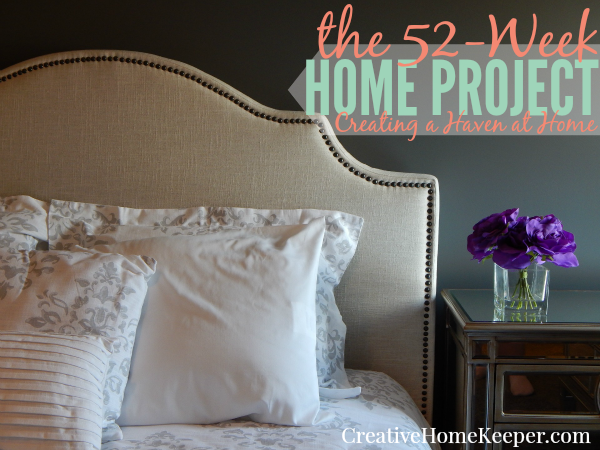
 This year let’s create a haven at home with the 52-week home project. Small, managable weekly tasks and challenges to create a space that promotes peace, inspires creativity, nurtures your family and is not only more organized but also runs with more purpose and intention.
To catch up on all the previous projects, head here.
Last Week’s Project
As the school year is winding down and coming to a close, now is the perfect time to organize, sort through and purge all those school keepsakes, papers, and art projects your child made or brought home this year.

Whether your child goes to school, preschool, a one-day Mother’s Day Out, is homeschooled, or does art projects at home, there is a good chance you have a pile of papers stacking up somewhere in your home. My kids only go to preschool two mornings a week and I can tell you my own pile is tall!
Before we get busy with summer time, and definetly before a new school year begins, now is the perfect time to get all those papers and art projects in order. The truth is you can’t keep everything (as cute as they might be) so it’s best to be really discerning on what you keep. Maybe a small collection of the best art projects and a few worksheets to highlight their handwriting from the year.
Include your children in the process too, after all they created them and probably have very strong opinions as to which ones are their favorites. Maybe you can have two categories: Mom’s Top 2 Picks and Child’s Top 2 Picks.
We will be focusing on all school papers this week and next week so if you have multiple school age children you can spread the project out. Or if you tackle everything this week, you can use next week as a grace week to catch up on a missed project or do basic home maintenance cleaning.
Project #17: Organizing & Archiving School Keepsakes from the School Year {Part One}
- If you haven’t already, create a file or keepsake bin for each child. I have a plastic storage bin where I place larger objects, and a small filling bin for paper for each child. They are clearly labeled and it’s easy to place keepsakes in the appropriate container for easy filing.
- Start with art projects first. Sort through them deciding which ones you will keep. Write the date on the back if. The projects you are getting rid of you can always take a picture if you want to remember it before you throw it away.
- Store the remaining art projects you are keeping. Find a plastic storage bin, filing cabinet or scrapbook album to hold the few remaining art projects you are keeping. Make sure the art projects are clearly labeled and archived by date and child.
- Gather any papers to sort through. From worksheets brought home to important notes or newsletters, gather up all the papers and sort through. Make three different stacks: recycle, keep and make note of. The recycle pile will be recycled, the keep pile will be filed away in your storage system and the to make note of pile quickly sort through, writing down any important dates or notes you need to remember. After you have sorted through the pile, recycle it as well.
- Update baby book, scrapbook, memory journals or growth books. Depending on how you like to preserve memories, you may have some sort of memory keeping book or album for each child, however simple or detailed it may be. The end of the school year, and as you are archiving important papers, is the perfect time to sit down and update.
My Progress and Results
One thing I did, because I’m kind of a sucker for sentimental things, is take photos are the “better” preschool projects and artwork to put together and form a personalized “Preschool Memory Photo book” (I use digital photo books… no scrapbooking for me!)

The reason behind this method is there were several really nice projects and mementos I wanted to keep but knew we just didn’t have the room to keep everything. I kept only a very small amount of projects and photographed the rest and then tossed them out.
Do make sure your kids aren’t around when you do this because they will pull everything out of the recycling bin and ask why we are getting rid of this!
I did also keep a few samples of my son’s handwriting from his Pre-K year to document his progress but all of the other worksheets sent home were usually recycled.
Each of my kids have a small cardboard file box that I purchased from Target. This is where I keep the paper mementos, art projects, cards, notes and other keepsakes. Each child also has a large plastic storage bin in their closet where I store larger keepsakes to keep (like sentimental clothing, a well loved toy, etc.).

I actually just went through my older two’s storage bin to organize those keepsakes and it was kind of funny because I couldn’t figure out why I kept certain outfits. Some were obvious choices, like their coming home outfit, but a few items didn’t register with me. So I got rid of them, so the point is to periodically sort through your keepsake bins!
A New Project for a New Week
Each week I’ll share a new challenge to help us tackle one small area of our homes.
Some weeks it might be a deep cleaning task, some weeks it might be a decluttering task, some weeks it might be a challenge to help you create a space you love, and some weeks it might be a combination of a few different challenges.
The goal for the 52-Week Home Project is to have a home that is not only more organized but also runs with more purpose and intention and just feels more peaceful and calm.
The Next Project
This week’s project is going to be light but still intentional.
With summer upon us, one of the best things we can do as a family is to make a plan of how to spend this season together. So this week to keep it light, because it’s a Holiday weekend and maybe it is also a good time to catch up some other projects from the previous week, you and your family are going to create a summer bucket list!
Project #18: Create a Family Summer Bucket List
- Print off this summer bucket list form, or create your own.
- Schedule a time to sit down together as family.
- Have each family member list 2 to 3 things (maybe more) of specific things they would like to do over the summer
- Pull out the calendar and schedule some dates in!
- If you have to purchase tickets, make a plan to set aside money from your budget to purchase those.
- Display your bucket list on the refrigerator or even place in a nice 8 x 10 photo frame in a prominent place in your home.
Next Sunday I’ll share my progress as well as give our next challenge in the 52-Week Home Project so be sure to stay tuned.
Missed a project in the 52-Week Home Project? Head here to see the complete list of all 52 projects!
How did you do with your 52-Week Home Project this wee? Share your results in the comments below, including a link to your blog post or photo you shared on Instagram, Facebook or Twitter with the hashtags #The52WeekHomeProject